Building the FlipMouse
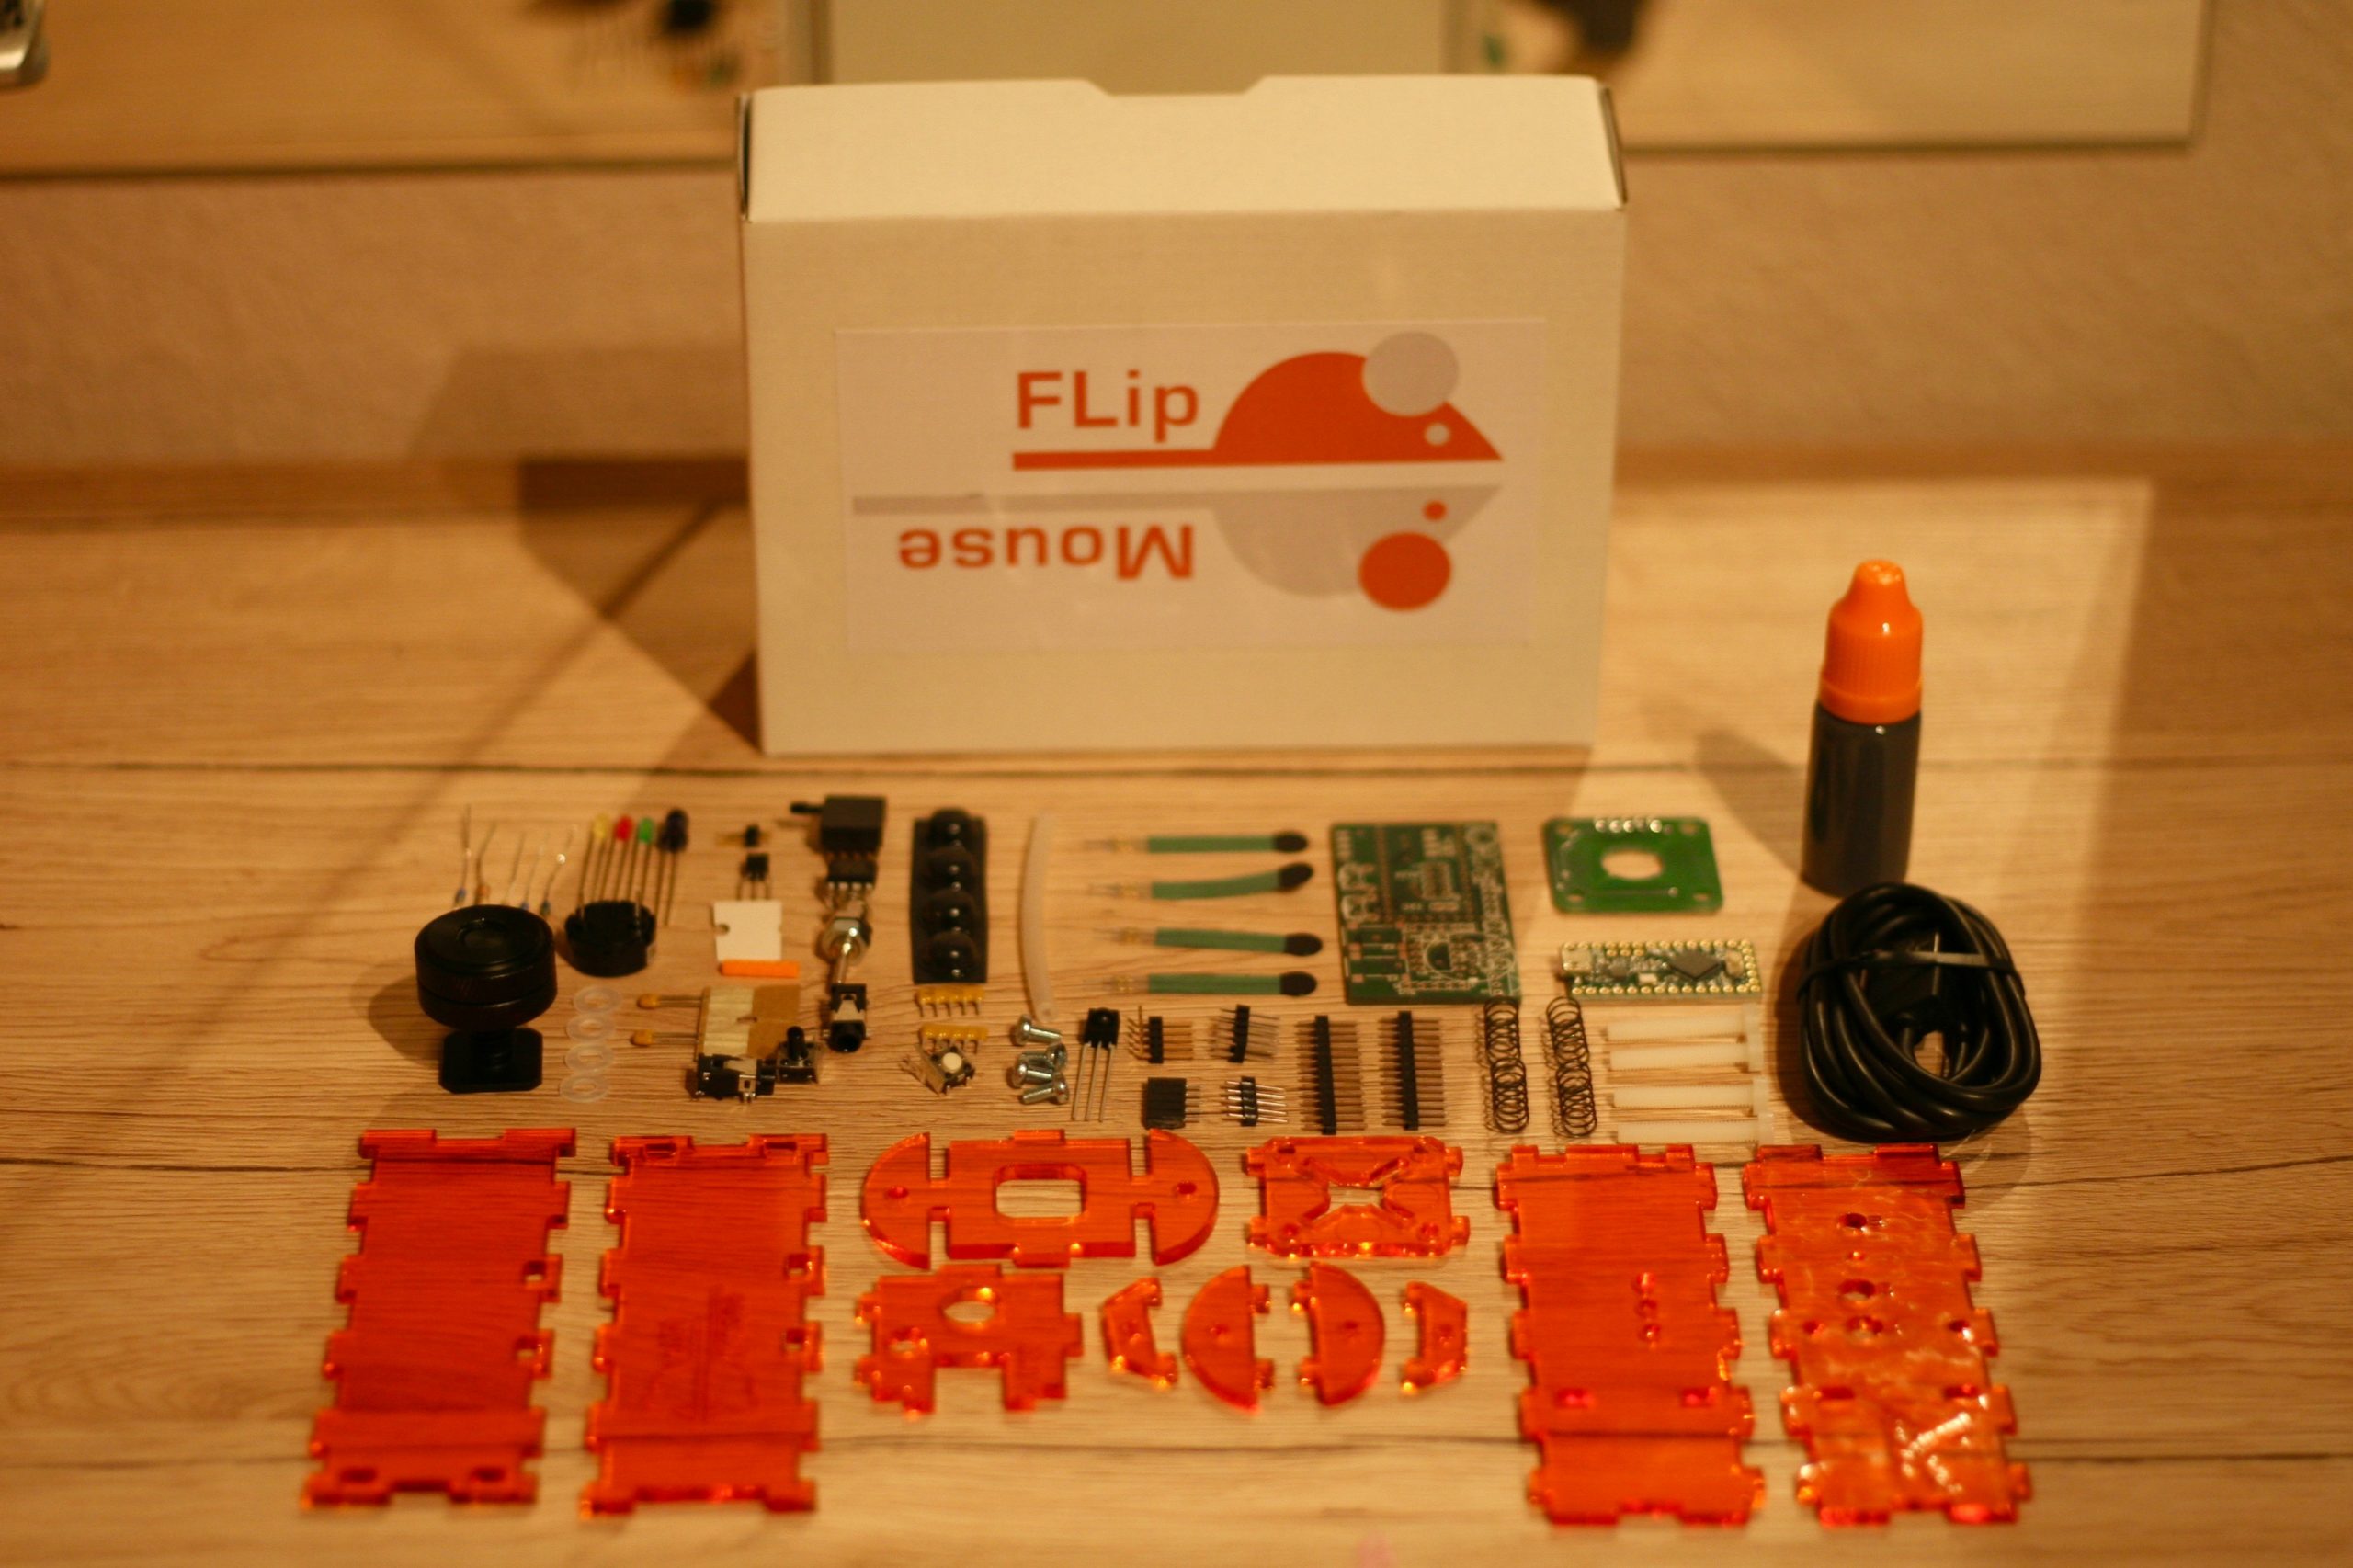
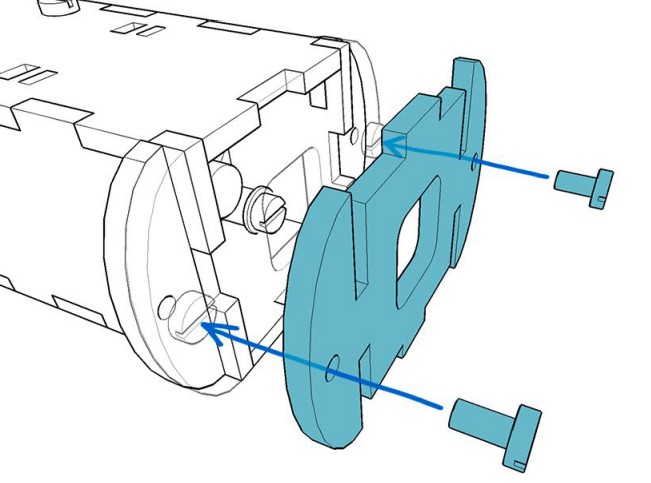
The FLipMouse parts can be purchased as DIY-Kit from hackerspaceshop.com or self ordered according to the OpenSource Design files. There is a construction guide for the DIY-Kit (which comes with a laser-cut acrylic case) and another construction guide for the self-3D-printed case. The construction guides contain all information how to solder the PCB, assemble the sensor carrier board and connect the mouthpiece. Additionally, videos show the construction and setup (see below). After the FLipMouse has been assembled, the FLipMouse Configuration Manager can be opened (please use a Chrome broswer). The Configuration Manager displays live sensor values from the device and offers all settings and parameters in order to configure the device to individual needs. The FLipMouse firmware can be updated using the Configuration Manager as well. More information can be found in the user manual.
Video tutorials for building the FlipMouse:
FlipMouse Construction Video
(acrylic housing version)
This video shows the construction of the FlipMouse with laser-cut acrylic case (DIY-Kit delivered by Hackerspaceshop.com). It fits to the Construction manual for acrylic housing.
FlipMouse Construction Video
(3d-printed housing version)
This video shows the construction of the FlipMouse with 3d-printed case (self-printed, see FlipMouse Github repository). It fits to the Construction manual for 3D-printed housing.
Bluetooth Add-On Module Construction Video
This video shows the SMD soldering of the FlipMouse Bluetooth Add-On module (see Design files). For build instructions see according section of the Flipmouse Wiki.

